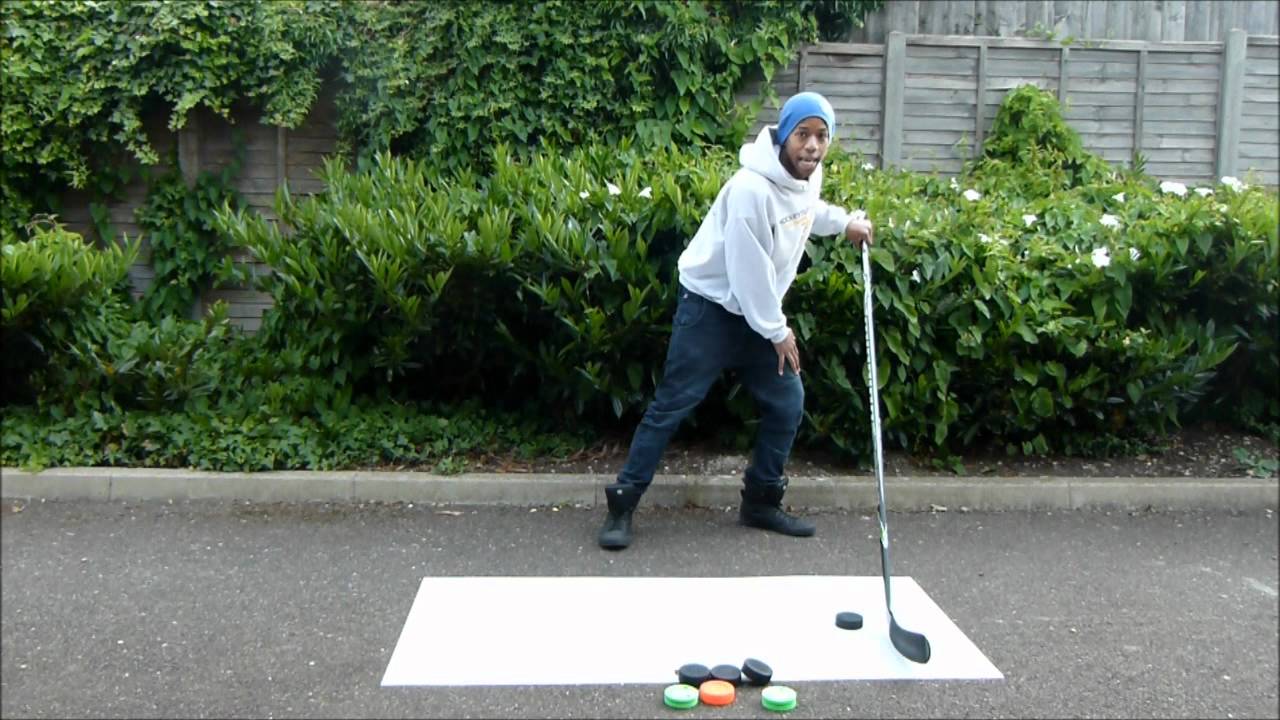
How To Take A Wrist Shot
The wrist shot is a quick, accurate shot and depending on your upper body strength, can be a very powerful shot. The key to the wrist shot is getting the shot off before the defender can block or deflect the puck and/or before the goaltender knows it is coming. The element of surprise is an important aspect of hockey. The wrist shot is basically a pass with the difference being the target for the wrist shot is the net instead of the stick of one of your teammates.
Top of placed at the top of the stick, bottom hand down placed around half way down the shaft of the stick to give yourself more power and to allow the stick space to flex
Keep your eyes on the target – feel the puck on your stick blade. Cup the puck with the heel or centre part of your stick blade.

Bring the puck behind your back leg or stance and also bring your weight to your back leg.

Pull your hands forward, as the puck begins to cross your front foot/skate, push with your bottom hand and pull back with your top hand.
Remember to lean on the stick allowing it to flex generating more power
As the stick crosses in front of your body, begin to transfer the weight from your back leg to your front leg. At the same time, rotate your upper body in the direction of your target – with both shoulders squared to the net.

As the puck is about to leave your stick blade, “snap” your wrists from an open to a closed grip. The “snap” with the bottom hand is a quick, sharp roll, away from your body creating a small arch with your stick blade. The “snap” with your top hand is in close to your body.
The follow through of your stick will determine the height of the puck. A high follow through will make the puck rise for shots to the top corners of the net and a low follow through will force the puck to travel along the ice.
Remember to always look at your target. You can’t hit what you can’t see. Also, the best way to increase the power of this shot is by practicing. The muscles in your arms, shoulders and wrists will become stronger with use. You don’t necessarily need to lift weights to build strength and power for your wrist shot.
Off Foot Wrist Shot – How To Take A Wrist Shot On Your Off Foot (Most common type of wrist shot)
There is more than one way to take a wrist shot, read our article to learn about them.
Hand placement on the stick
When shooting your top hand should be holding the top of the stick, and your lower hand should be no more than half way down the shaft of your stick.
When preparing to take a wrist shot, the puck should be behind your stance or in line with your back foot, whichever feels more natural for the individual.
The puck should be around the heel area or the centre of the stick blade, this allows you the control the puck and transfer the power from the shot into the puck.
Transferring weight
When you begin to take the shot of your off foot, most of your weight should be on your leg closest to your stick or front leg (as shown below), you then need to transfer even more of your weight to the front leg (leg closest to your hockey stick) at the same time you need to push off with your back and front leg driving more power into the shot.
Stick Flex
It’s important to say that a lot of the power in all of the different types of shots on the ice comes from the flexing and unflexing of your stick, some people do not know that the stick adds so much more speed and power into your shots (think of it like a ruler being bent back to flick a rubber/eraser across the room). When shooting remember to lean into the shot, this allows your stick to flex, this process then transferred all the energy (of the stick flexing) to the puck when you release (and unflex your stick). You can generate a lot of flex in your stick, that’s why buying a stick with appropriate flex which is decided by your height, weight and size, so remember to lean into your shot,
Your follow through is important as it decides which direction the pucks goes. By continuing to push through with your shot you will keep the puck on the sticks blade for a longer period of time, this will also ensure you transfer more energy and speed onto the puck and your shot. Push hard with my bottom hand, while pulling back with my top hand. At the end of the follow through, don’t forget to roll your wrists over, and point at where you want the puck to go.
What are the different types of wrist shot ? and when should i use them?


