


Things you’ll needs
- Oven gas or electric
- Baking tray
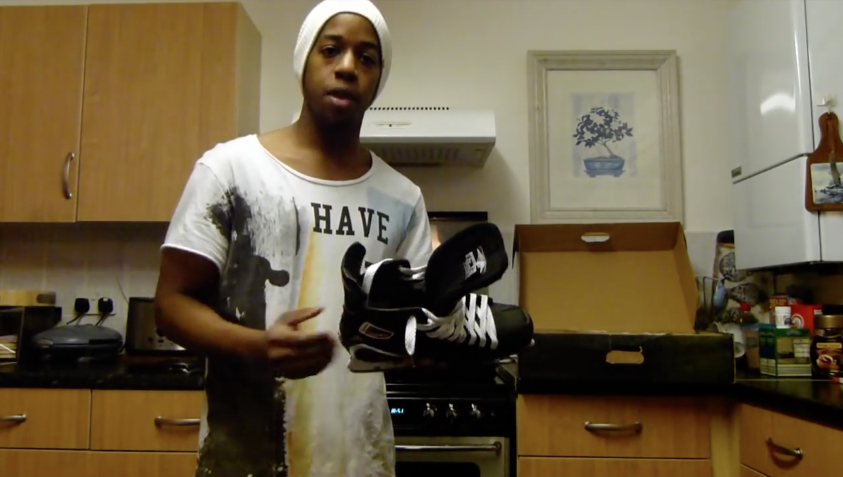
- Skates
- Oven gloves or something to remove the skates from oven after the baking process
The skate baking process may resolve some of your fit issues i.e. sore spots inside the skates or general discomfort from skating in a new pair of hockey skates. It may also help to reduce the break in time of a new pair of hockey skates giving a better fitting skate.
It’s important to mention that you don’t need to do this, it’s an optional process. Some skaters will prefer to break their skates in the more traditional way (repeated use). If this process is not done correctly, it could result in a premature degeneration or break down of the skate.
In this tutorial we’ll be going over how to heat your skates up so the materials are soft and mouldable from home using a standard oven gas or electric. You’ll need to double check the temperature your skates need to be baked at and also the length of time, some skates have a slightly different processes than others.
Preparing the oven
Make sure there is enough room to place the baking tray and skate in the oven without the skate coming into contact with anything but the baking sheet.
(In the case of the Mission Fuel AGX ) Pre heat the oven at 180 degrees , get the skates ready by undoing the laces, make sure you will be able to get your foot in easily and quickly, while the skates are soft and warm nice and ready to mold.
Once the oven is preheated turn it off as you don’t want direct heat on the skate, you only want to surround the skate in a uniform temperature, this ensures the skate is in a controlled heated environment which will get the materials soft and not destroy the skate.
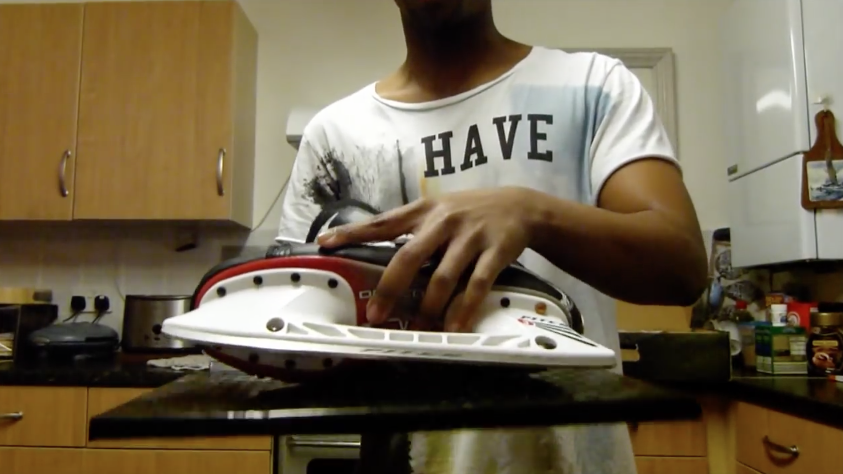
Check how stiff the skates are
It would be recommended to check the stiffness of the skate before you place it in the oven, once it comes out the oven, you should notice a drastic change and the skate will be much softer than when it went in. This is an indication that the skate is done and ready to put on. Now place the skate on the baking tray and place it in the oven, making sure the skate comes into contact with just the baking tray and nothing else (you don’t want to burn it).
The Mission Fuel AGX require 7 minutes at 180 degrees, regardless of how long your skates require, it’s a great idea to check on them half way through the process to make sure there ok.
Checking on the skates half way through
Make sure you don’t see any materials separating, at this point you might be able to slightly smell the materials of the skate, that is normal so don’t worry. You need to close the oven door quickly after checking on them as you don’t want to much heat escaping from the oven. Be sure not to touch the inside of the oven or the skate eyelets and blades, they’ll be very hot.
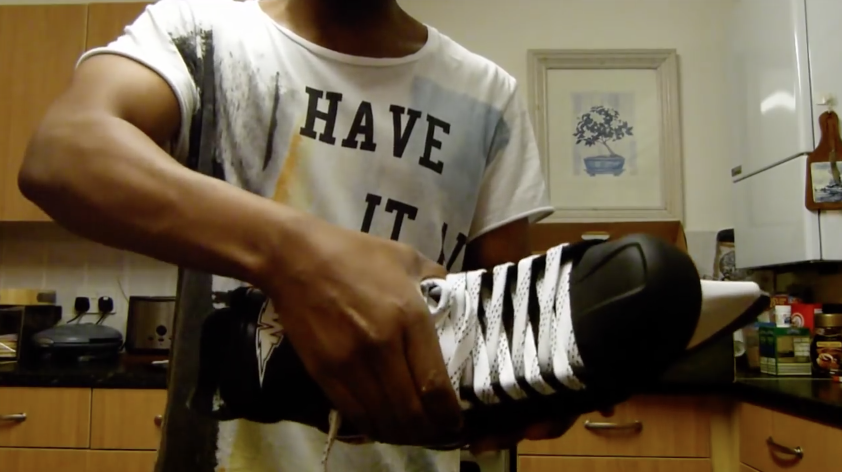
End of the process
Take the skates out (see how soft there are)put the skates on while being careful not to touch the blade or eyelets (hot) You also need to put the skates on while their hot and at the optimal temperature of heat molding.
Put the skates on and allow them to mold
Keep the skates on for 15minutes to allow the heat molding properties to mold (don’t walk around with them on). If you feel the skates are slightly narrow, feel free to stand up as this allows your feet to spread out giving it slightly more width. You can kick the back of your heels against the floor to place them further back into the skate.
After the 15 minutes take off the skates, re-lace them and leave them upright to cool down for 24hours before skating on them, this ensures the materials have hardened after heat molding (in their new shape) and are ready to skate on.

