

In this article we take a look at how to take a wrist shot, one of the most useful and accurate shots in hockey.
[youtube]https://www.youtube.com/watch?v=JOwoXKwhiEs[/youtube]
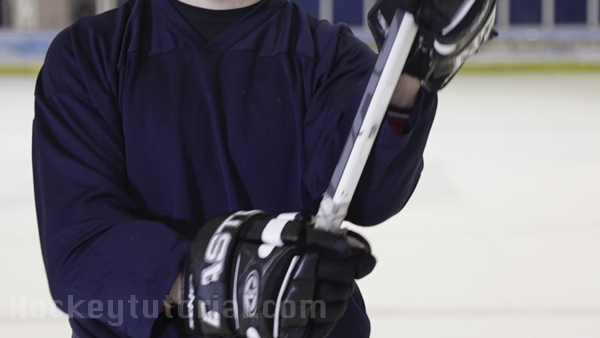
How To Take A Wrist Shot In Hockey : Step 1 Hands Placement
A great way to remember how to hold your hockey stick is the old palm out palm in rule:
- Bottom hand should have your palm facing out
- Top hand should have your palm facing in
In order to measure what distance your hands should be apart on your hockey stick, try to use forearms distanced rule (for stickhandling) If you’re shooting, drop your bottom hand down just a little further.
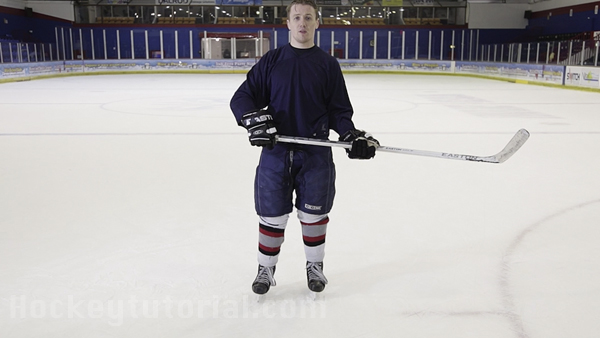
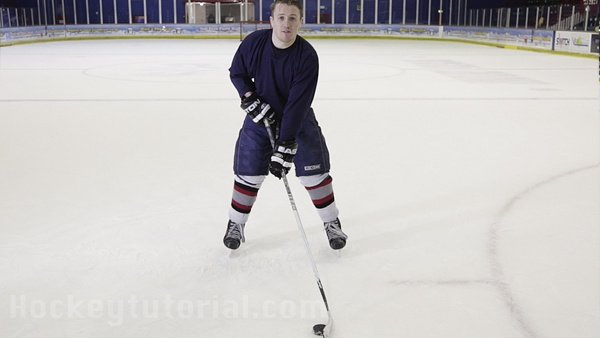
How To Take A Wrist Shot In Hockey : Step 2 Hockey Stance
You always want to be in an athletic stance on the ice while shooting:
- Skates around shoulder width apart
- Knees bent over toe caps of skates
- Chest up
- Shoulders square
- Head up to see the game
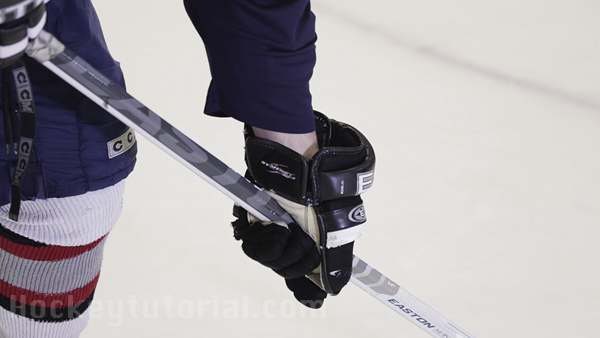
How To Take A Wrist Shot In Hockey : Step 3 Puck Position
You’ll want the puck around the back portion of the sticks blade. You’ll also need to cradle the puck using the blade of the stick, this will help get the puck in that sweet spot and help it lift off the ice and spin. Notice how in the image above and below the hockey stick blade is cradling the puck.
How To Take A Wrist Shot In Hockey : Step 4 Weight Transfer
This is the most powerful wrist shot you can take, it’s powerful because of the weight transfer that takes place just before the release. This involves using your entire body to take the shot, not just your upper body. You’ll be dragging the puck back behind your skate furthest from the goal.
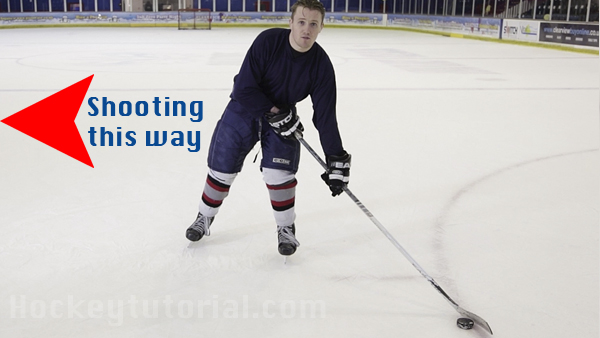
This allows you to transfer all your weight into that back skate/leg.
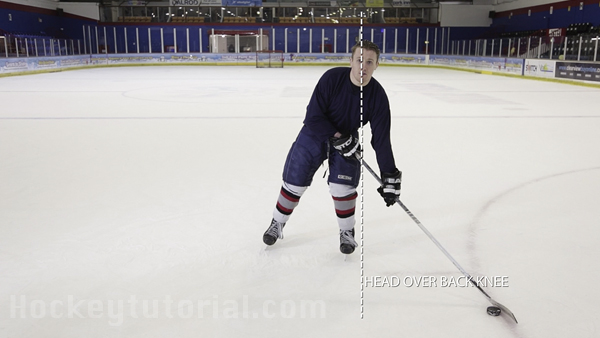
At this point (with all of your weight in your back skate/leg) you’ll begin to pull the puck towards the target while transferring your weight from the back leg to your front leg.
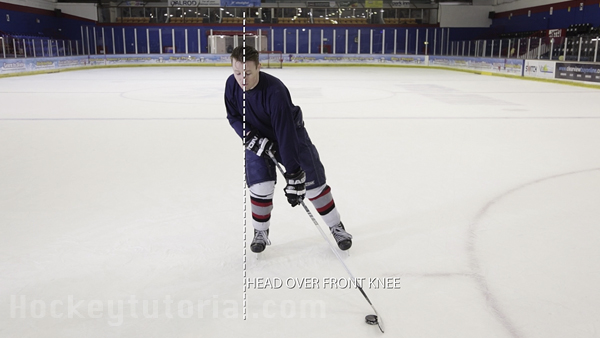
To get the most power out of the wrist shot, use your whole body!. That includes using your back skates inside edge to push off the ice and help generate more power.
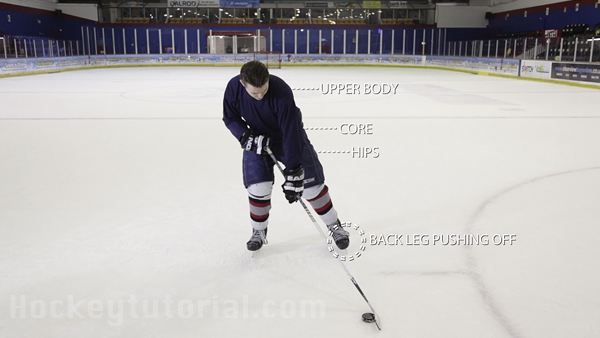
By pulling the puck back into your hockey stance, you’ll find your using:
- Your back leg
- Your core
- Your upper body

Now the weight is in your skate/leg closest to the goal.
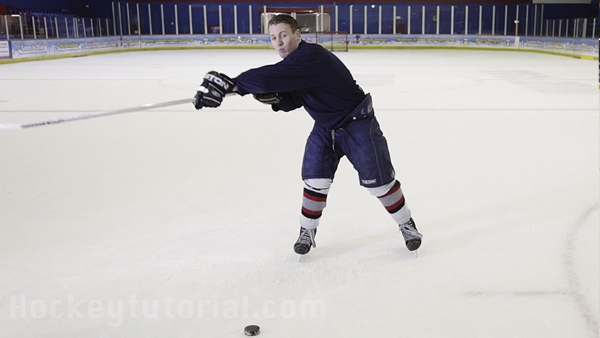
How To Take A Wrist Shot In Hockey : Step 5 The Snap!
Notice in the image above how Josh’s hands are in front of his body, this leaves space for the “snap”. While leaning into your stick to make it flex, you’ll need to snap your top hand back, while pushing your bottom hand forward to generate the power for the wrist shot.
How To Take A Wrist Shot In Hockey : Step 6 Roll Wrist & Point
The final step is to roll your wrist over to make sure the stick blade finishes in a close position. To aim, you just need to point the stick blade or follow through pointing in the direction you want the puck to go.
Final tip
Work on feeling for where to puck is, you don’t want to spend too much time looking at the puck. You need to look at your target to see where the puck is going.

